In addition to the values provided by - or calculated on behalf of - your end users, there is a unique set of properties that fundamentally define a KnowledgeKube application. These are collectively known as the application's Status, which is associated with a strict list of potential values known as Status Elements.
As an example, your application might have three potential states: Awaiting Approval, Approval Given and Approval Refused. Each of these is represented by a corresponding status element. These elements are defined by a unique name, a short description, and a unique numeric value.
The two properties that make up an application's status are a numeric Status Value and an explanatory Status Text. When a particular element is chosen as the state of the application, that element's value is assigned to the status value, while its description is assigned to the status text. The application will remain in this state until a different element is assigned.
Your application can only have one of the available status elements assigned to it at any one time. As with the values of identifiers and questions, the value assigned to a model's status can be referenced in expressions.
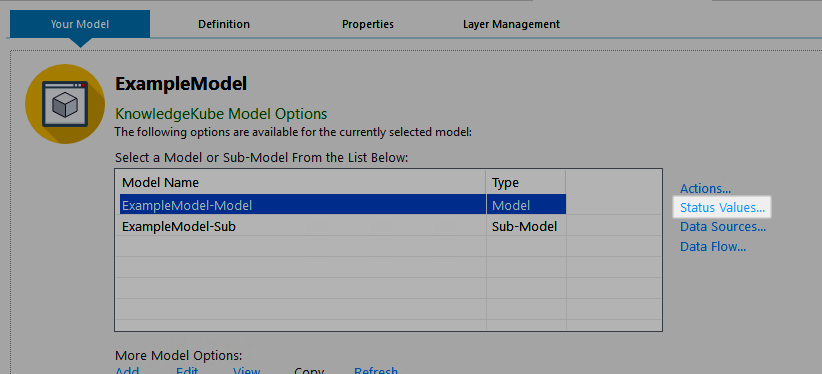
To access the interface that lets you customise a model's status and status elements, switch to the Your Model tab and click Status Values.

Accessing the Status Values interface for the current model.
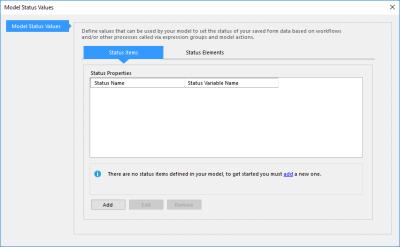
The Model Status Values window consists of two tabs. The Status Items tab lets you create and manage the model's status value and status text, while the Status Elements tab contains a list of elements currently associated with the model's status.
When you first create a model, it will not possess a status value, status text, or any status elements.
Once a Status Value and Status Text has been added to a model's Status Element, you can modify them using a special function named UpdateStatusAndText. The syntax of this function is as follows:
UpdateStatusAndText( StatusVariableName );
Replace StatusVariableName in your expression with the Status Variable Name of the Status Element you want to assign, without quotes.
An example of a valid expression featuring this function is shown below:
UpdateStatusAndText( SubmissionApproved );
This expression references the SubmissionApproved element. In the example, the Value of SubmissionApproved is 3, whereas its Status Text Description is "The customer's submission has been approved". After the expression is triggered, the new values of the model's status value and status text will be applied. To utilise the value of either property in an expression, reference its respective Status Variable Name.
To create and modify a model's status and status elements, refer to the following topics:
| Description | Further Reading |
|---|---|
| Create properties that make up your model's status. | Creating a Model's Status Value and Text |
| Create Status Elements that represent a state for your model. | Creating a Model State |
| Modify your model's Status Elements. | Editing a Model State |
| Remove the potential states of your model. | Deleting a Model State |

