
Data fetched by a data source is organised according to the Fields in the source table. You can configure a data source to return data from any number of the available fields, depending on the requirements of your application.
Each field can be assigned an Alias, which is the name of a model keyword such as a question or variable. An alias allows the field to automatically share its value with the associated keyword whenever the data source is queried. A field can have no more than one alias, and when a data source is created, none of its fields will have aliases.
If an alias does not match an existing variable or question keyword, KnowledgeKube will create a variable during run-time to store values from the data source as needed.
To view the fields available to a data source:
- Click
 in the Definition panel to open the Model Data Sources window.
 - Select a data source by left-clicking it in the Your Data Sources panel.
- If you have not already checked out the data source, do so by clicking
 .
. - Click Fields to open the Data Source Fields window.
The window contains a list of all fields in the source table. Next to each field's name you can see its Data Type.
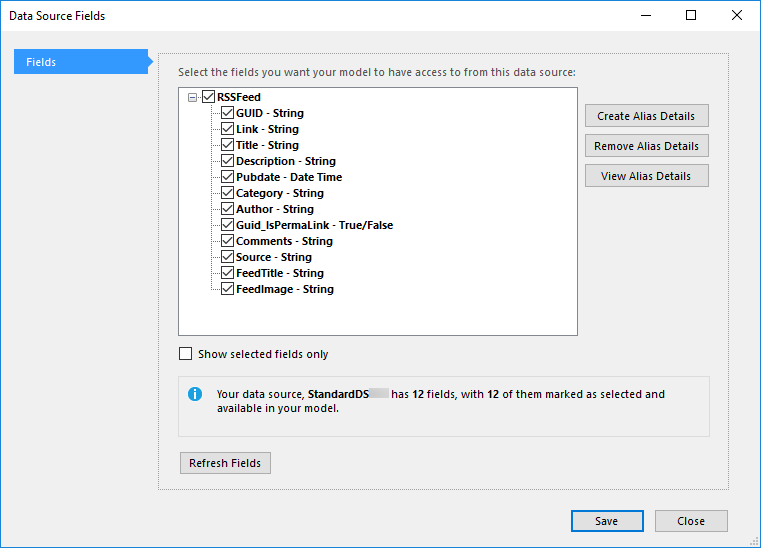
Use this window to view the fields provided by the data source.
If any changes are made to the underlying database table, you can use the Refresh Fields button at the bottom of the dialog to update the list, ensuring it only displays the latest data.
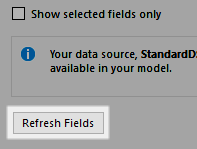
Refreshing the fields list for the selected data source.
When viewing the Fields window for a model data source, any aliases assigned to its fields will be shown in parentheses alongside the corresponding field's name. You can modify aliases either one at a time or in bulk.
The information in this topic regarding data source field aliases also applies to stored procedure parameter aliases.
When selecting multiple fields for modification, you can use the check box near the bottom of the window to hide any unselected fields, making it easier to visualise which ones will be affected by your actions. Unticking the box will cause the hidden fields to re-appear.
Use this check box to temporarily hide fields you are not working on.
Clicking the View Alias Details button will open a dialog containing a list of aliases in the data source, together with an auto-generated WriteData expression based on those aliases. You can copy this expression to your clipboard and add it to your application as needed.
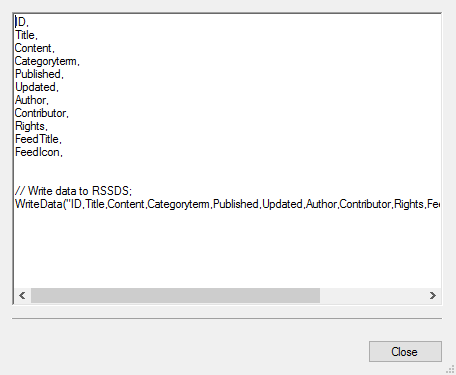
A list of aliases and a suitable WriteData expression.
This dialog is read-only, and you can simply Close it when it is no longer needed.
To learn how to manage data source fields and aliases, refer to the following topics:
| Description | Further Reading |
|---|---|
| Choose which fields to fetch with the data source. | Specifying Data Source Fields |
| Specify an alias for a single data source field. | Creating an Alias for a Single Field |
| Generate aliases for multiple data source fields at the same time. | Creating an Alias for Multiple Fields |
| Change the alias for a specific field in the data source. | Editing an Alias |
| Delete the alias assigned to a data source field. | Removing the Alias from a Single Field |
| Delete the aliases for multiple data source fields. | Removing the Alias from Multiple Fields |